
How to Choose the Right Iridescent Acrylic Sheet
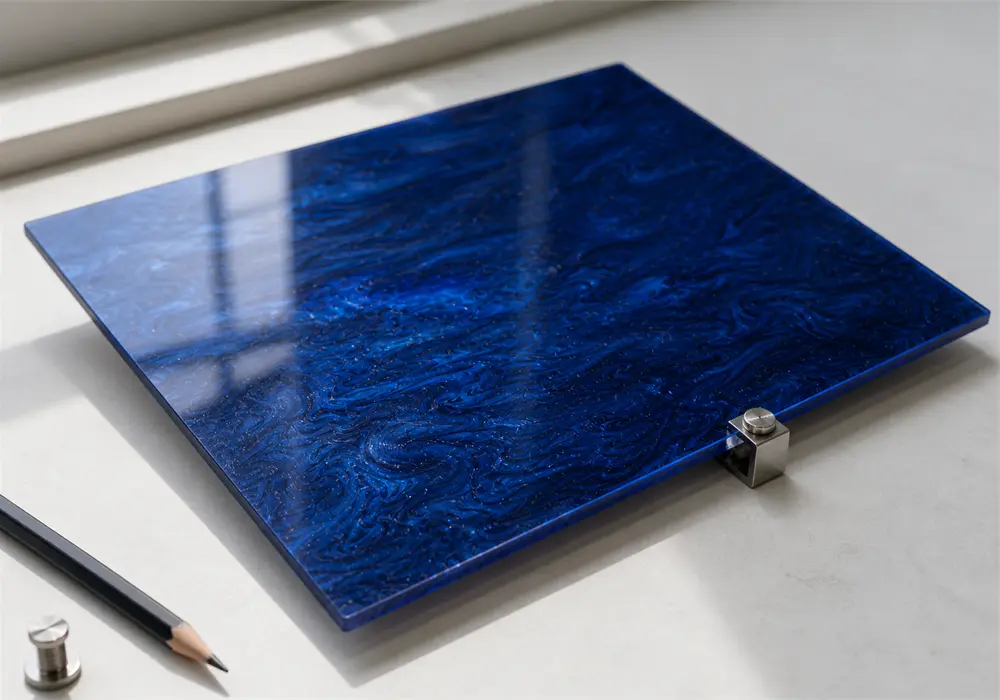
Choosing the right iridescent acrylic sheet starts with the finished effect you want to create. Consider how the sheet will look in reflected and transmitted light, whether it needs to be transparent or opaque, how much structural support it requires, and how it will be cut, formed, or bonded. A beautiful color sample is only the beginning: the correct substrate, thickness, coating construction, and environmental rating determine whether the material will perform well in the finished project.
This guide explains the key differences and gives you a practical selection process for signs, displays, laser-cut crafts, lighting features, interior partitions, furniture, and other decorative applications.
Iridescent Acrylic Sheet Selector
Answer six quick questions to get a practical starting specification for your project.
What Is an Iridescent Acrylic Sheet?
An iridescent acrylic sheet is a decorative PMMA panel that changes color as the viewing angle, light direction, or background changes. It may also be described as rainbow acrylic, color-shifting acrylic, radiant acrylic, or dichroic acrylic.
Unlike ordinary colored acrylic, which gets its appearance mainly from dyes or pigments, many iridescent sheets use a thin optical film or a multilayer structure. Light reflects from different boundaries within these extremely thin layers. Some wavelengths reinforce one another while others cancel out, producing the shifting pink, gold, blue, green, violet, or cyan effects associated with iridescent surfaces.
This is why the same sheet can look dramatically different in a product photograph, beside a window, under retail spotlights, or against a dark wall.
Start with the Intended Application
Before comparing colors, define what the material needs to do. The best option for a pair of laser-cut earrings may not be suitable for a suspended partition or an outdoor sign.
Ask these questions first:
- Will the sheet be used indoors or outdoors?
- Is it decorative, load-bearing, or supported by a frame?
- Will people mainly see reflected light, transmitted light, or both?
- Does the project require laser cutting, CNC routing, drilling, bending, polishing, or bonding?
- Will both sides and all cut edges remain visible?
- Does the final design need to match other pieces from the same production batch?
Clear answers make it much easier to select the correct optical effect, base material, thickness, and fabrication method.
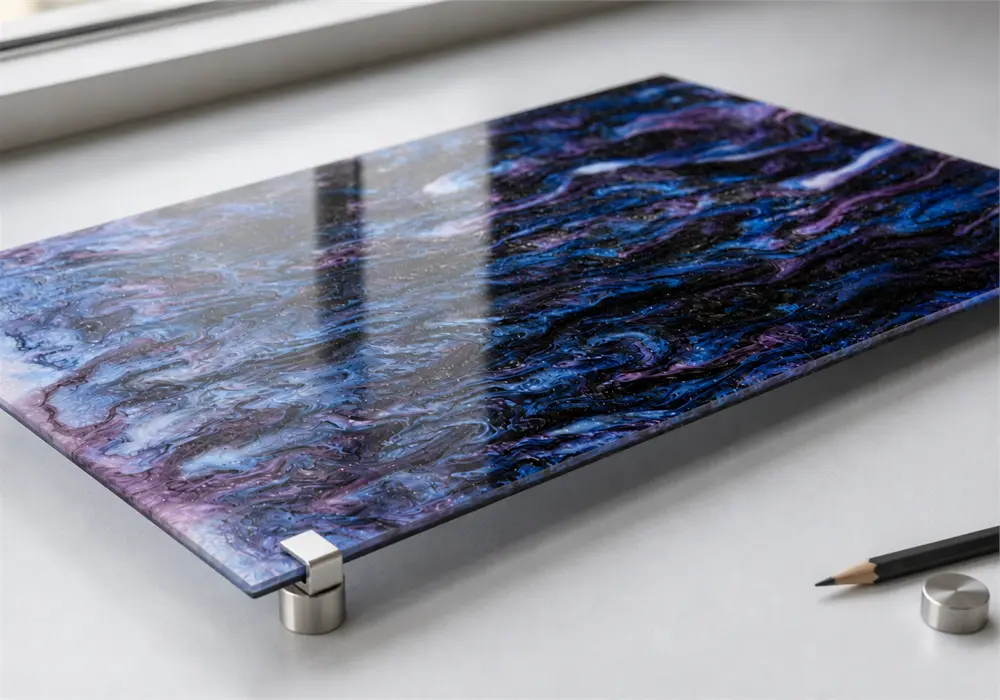
1. Compare the Color Shift in Real Lighting
Color names are useful, but they do not tell the whole story. An iridescent sheet usually has at least two visual personalities.
Reflected color
Reflected color is what you see when light bounces from the surface toward you. It becomes especially prominent against black, dark, or non-transparent backgrounds. A sheet might reflect pink and gold from one direction, then shift toward violet or green as the viewer moves.
Transmitted color
Transmitted color is what you see when light passes through a clear or translucent sheet. It is often complementary to the reflected color. A panel that reflects warm gold or pink tones may transmit cooler cyan, blue, or magenta light.
For this reason, evaluate samples in conditions that resemble the final installation:
- Place the sample against white, black, and the intended background.
- View it from the front and from both sides at several angles.
- Test it in daylight and under the artificial lighting planned for the project.
- If the sheet will be backlit, place the actual or a similar light source behind it.
- Compare multiple sheets side by side to check batch consistency.
Do not approve a large order from a single front-facing product image. Videos and physical samples provide a much more accurate impression of the color movement.
2. Choose the Right Base Finish
The base color and transparency have a major influence on the final effect.
| Base finish | Visual result | Common applications |
|---|---|---|
| Clear | Strong transmitted color, colored shadows, and an airy appearance | Window displays, lighting features, partitions, art installations |
| Opal or diffused white | Softer pastel color shifts with reduced glare | Light boxes, illuminated signs, cosmetic displays |
| Black or dark opaque | Strong reflected color and a metallic, high-contrast appearance | Luxury displays, decorative panels, accessories |
| Mirror-backed | Specular reflection combined with dramatic color movement | Feature walls, premium retail fixtures, statement pieces |
A clear base is normally the most versatile when a project depends on sunlight or backlighting. A dark base is often more effective when the goal is bold surface color rather than transparency.
3. Understand How the Iridescent Effect Is Made
Not every iridescent acrylic sheet has the same construction. Ask the supplier how the optical effect is incorporated, especially when the sheet will be machined or formed.
Laminated optical-film acrylic
This construction applies a color-shifting polyester film to an acrylic substrate with a clear adhesive.
It offers a wide variety of effects and base colors at an accessible cost. It is a practical choice for flat signs, displays, decorative overlays, and many laser-cut projects. However, the film side can be more vulnerable to scratching, heat damage, solvent attack, or edge lifting. Complex thermoforming may also be limited.
Co-extruded multilayer acrylic
Co-extruded material creates the optical effect through multiple polymer layers incorporated during production.
Because the effect is more integrated with the sheet structure, this construction can offer better edge stability during routing and mechanical fabrication. It may be preferable for projects that require more demanding processing, although available colors and finishes may be more limited.
Vacuum-deposited or coated acrylic
Some premium sheets use very thin optical coatings deposited on the acrylic surface. These products can deliver sharp, mirror-like color shifts and high visual contrast.
Their surfaces may require additional protection against scratches or chemical exposure. Confirm cleaning, fabrication, and handling requirements with the supplier before specifying them for frequently touched installations.
4. Select Cast or Extruded Acrylic
The optical layer is only part of the product. The acrylic substrate also affects fabrication.
Cast acrylic
Cast acrylic is generally preferred for detailed laser engraving, complex machining, polishing, and projects where optical appearance is critical. It tends to engrave with a more visible frosted effect and often produces attractive laser-cut edges. It is also available in a broad range of colors and specialty finishes.
Cast sheet can have more thickness variation than extruded sheet. If parts must slot together or fit into precisely machined frames, measure samples and design an appropriate clearance.
Extruded acrylic
Extruded acrylic is typically more economical and has tighter thickness consistency. It can be useful for repeated parts and designs where dimensional uniformity is more important than engraving contrast.
It may respond differently to heat, solvents, and machining than cast acrylic. Confirm that the selected iridescent construction is compatible with the intended process rather than assuming that all acrylic sheets behave the same way.
5. Match the Thickness to the Project
Commercial iridescent acrylic is available in a range of thicknesses, but not every optical finish is offered in every gauge.
Use these general categories as a starting point:
- Approximately 2-3 mm: Suitable for small signs, jewelry, craft projects, display accents, decorative overlays, cake toppers, and other lightweight pieces.
- Approximately 4.5-6 mm: Better for medium-format signage, shelf risers, framed panels, and more rigid displays.
- Approximately 8-12 mm: Consider for furniture components, substantial partitions, large decorative fins, and installations where visual weight and stiffness matter.
These are selection guidelines, not engineering limits. Panel size, mounting method, unsupported span, impact risk, wind load, and local building requirements all affect the required thickness. Large architectural or overhead installations should be reviewed by a qualified fabricator or engineer.
For colorful craft and display projects, compare the available acrylic sheet products and review this 1/8-inch cast pearlescent acrylic sheet as a practical reference for small-format projects. Confirm the exact size, thickness, finish, and processing instructions listed on the selected product page.
6. Check Fabrication Compatibility Before Buying
An iridescent acrylic sheet may look perfect as a sample but still be unsuitable for a planned fabrication process. Always request a small test piece when appearance and edge quality are critical.
Laser cutting
CO2 lasers are commonly used to cut acrylic. Keep the protective masking in place when recommended by the manufacturer, and confirm which side should face the laser. With laminated material, excessive heat can cause the optical film to shrink or lift near the cut.
Laser settings depend on sheet thickness, color, construction, machine power, optics, focus, air assist, and the required edge finish. Run a material test grid instead of copying settings from an unrelated sheet. For a broader overview of tools and safety, read our acrylic sheet cutting guide.
CNC routing
Sharp carbide tooling and a suitable chip load help prevent friction melting. Tool geometry should match the sheet thickness and construction. A down-cut tool may help hold a laminated surface layer in place on thin sheets, while other geometries may be better for thicker stock.
Edge finishing
Mechanical or diamond polishing can produce a clear edge without exposing the optical layer to intense heat. Flame polishing requires caution because concentrated heat can wrinkle, shrink, scorch, or separate a surface film.
Thermoforming and bending
Do not assume that every iridescent sheet can be thermoformed. Laminated films, adhesives, coatings, and co-extruded layers can respond differently to heat and stretching. Excessive forming may distort the optical layer and create uneven or inactive color areas.
If bending is required, ask for the recommended temperature range, minimum bend radius, heating direction, and maximum forming depth for the exact product.
Bonding
Solvent cements can create clear acrylic joints, but they may cloud, soften, or delaminate an optical film. Apply adhesive only to compatible bare acrylic surfaces and prevent it from wicking onto the decorative face.
UV-curing acrylic adhesives, optically clear tapes, or mechanically framed joints may be better choices for some assemblies. Test the complete joint system before production.
7. Confirm Indoor or Outdoor Suitability
Many decorative iridescent films are designed primarily for indoor use. Long-term exposure to UV radiation, heat, moisture, and temperature cycling can fade the effect, weaken an adhesive layer, or contribute to surface deterioration.
For outdoor applications, request written confirmation of:
- UV stabilization or an exterior-grade optical film
- Expected weathering performance
- Suitable service temperature range
- Moisture and edge-sealing requirements
- Cleaning and maintenance limitations
- Product warranty for the intended environment
An indoor-rated sheet should not be described as outdoor suitable simply because ordinary acrylic has good weather resistance. The optical film, coating, and adhesive must also be rated for the environment.
8. Inspect Samples and Delivered Sheets
Quality inspection is particularly important for color-shifting materials because small variations can become obvious after multiple panels are installed together.
Use this checklist before fabrication:
- Inspect the masking. Check both sides for torn, bubbled, or missing protective film.
- Measure the sheet. Check thickness near all four corners and in the center when dimensional fit matters.
- Examine the surface. Under bright, even lighting, look for scratches, pinholes, trapped particles, bubbles, cloudy areas, or film separation.
- Compare the color shift. Place sheets side by side under the same light and view them from consistent angles.
- Inspect the edges. On laminated stock, look for lifting, adhesive residue, or uneven film alignment.
- Test fabrication. Cut, drill, polish, bend, and bond a sample using the actual production equipment.
Keep panels from the same production batch together when uniform appearance is important.
A Quick Selection Guide
Choose a clear, thin cast iridescent acrylic sheet when you want transmitted color, laser-cut details, colored shadows, or lightweight decorative pieces.
Choose an opal or diffused sheet for softer illuminated displays and reduced glare.
Choose a black or mirror-backed sheet when reflected color and dramatic surface contrast matter more than transparency.
Choose a co-extruded or fabrication-rated construction when the project requires demanding routing, bending, or edge exposure.
Choose an explicitly UV-rated product for exterior installations. Never rely on the appearance of an indoor sample to predict outdoor durability.
Frequently Asked Questions
What is the difference between iridescent and pearlescent acrylic?
Iridescent acrylic usually produces a noticeable color change as the viewing angle or lighting changes. Pearlescent acrylic normally has a softer, pearl-like shimmer and may show less dramatic movement. Product naming is not standardized, so compare samples rather than relying only on the label.
Is iridescent acrylic the same as holographic acrylic?
The terms are sometimes used interchangeably in product listings, but they can describe different optical patterns. Some holographic surfaces produce repeating spectral designs, while iridescent sheets may create a smoother color shift. Ask for close-up images, video, and a sample of the exact material.
Can an iridescent acrylic sheet be laser cut?
Many iridescent acrylic sheets can be laser cut, especially cast acrylic products designed for fabrication. The optical film or coating can change how the edge responds to heat, so confirm the manufacturer's instructions and test the exact sheet before production.
Which side of iridescent acrylic should face outward?
It depends on the construction and desired effect. A coated or laminated sheet may have a distinct decorative face, while other products look different from each side. Check the masking labels and evaluate both orientations under the final lighting conditions.
What thickness is best for laser-cut crafts?
Sheets around 2-3 mm are commonly used for lightweight crafts, jewelry, toppers, signs, and display details. The correct thickness also depends on the size of the part, the width of delicate features, and the laser's capabilities.
Can iridescent acrylic be used outdoors?
Only if the complete product – including its acrylic substrate, optical layer, coating, and adhesive – is rated for exterior exposure. Request UV and weathering information from the supplier before using it outdoors.
Final Buying Checklist
Before ordering, confirm:
- The reflected and transmitted color shift
- Clear, opal, black, or mirror base
- Cast or extruded acrylic substrate
- Laminated, co-extruded, or coated construction
- Sheet dimensions and thickness tolerance
- Indoor or exterior environmental rating
- Compatibility with cutting, drilling, bending, polishing, and bonding
- Protective masking and packaging
- Batch consistency and sample availability
The right iridescent acrylic sheet should be selected as both an optical material and a fabrication material. Test it under the correct lighting, against the correct background, and with the actual production process. That approach protects the design intent and reduces costly surprises after cutting or installation.
Need Help Choosing a Sheet?
Share your project size, lighting, fabrication process, preferred color shift, and installation environment. We can help you narrow down the most suitable acrylic option before you order.
